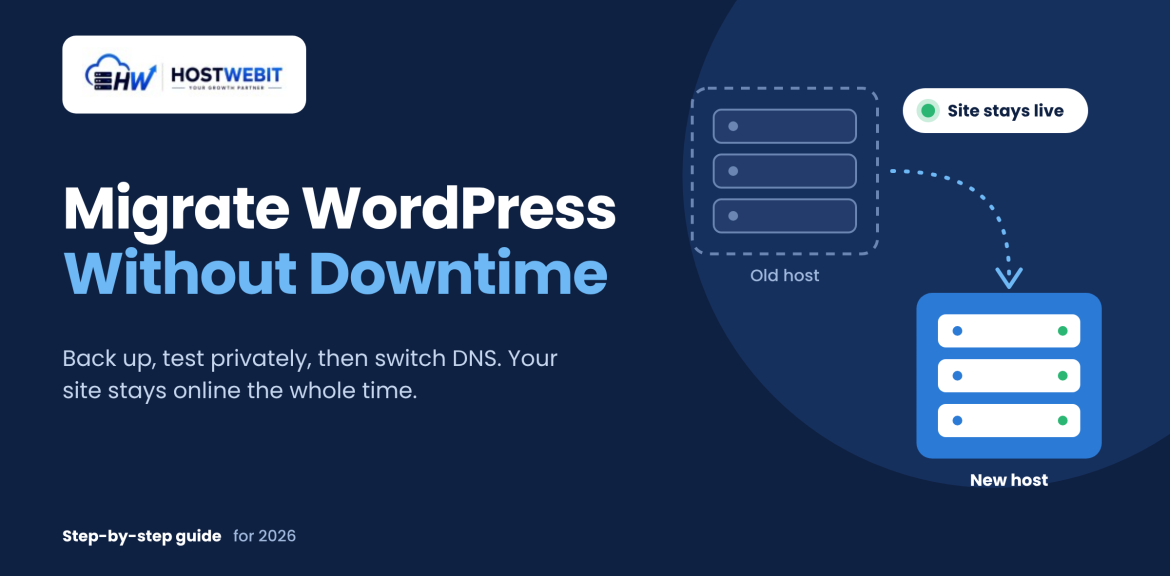
Moving your WordPress site to a new host can feel risky. One wrong step and visitors see an error page, customers can’t check out, and your search rankings can take a hit. The good news is that a zero-downtime migration is completely achievable if you follow the right order of steps.
In this guide, you’ll learn exactly how to migrate a WordPress site to a new hosting provider without taking it offline, including the backups, testing, DNS changes, and final checks that keep everything running smoothly.
Why Downtime During Migration Happens
Most migration downtime comes from a few avoidable mistakes:
- Switching DNS before the new server is fully ready
- Forgetting to copy the database or some files
- Mismatched PHP or MySQL versions between old and new hosts
- Missing SSL certificates on the new server
- Editing content on the old site while the migration is in progress
The core principle of a no-downtime migration is simple: keep the old site live until the new site is fully built, tested, and verified. Only then do you point your domain to the new server.
Before You Start: Pre-Migration Checklist
Spend 15 minutes on preparation to avoid hours of troubleshooting later.
- Choose your new host and plan. Make sure it meets your site’s needs for storage, bandwidth, PHP version, and MySQL/MariaDB version.
- Take a full backup of your files and database (more on this below).
- Note your current setup: PHP version, WordPress version, active plugins, and any custom server settings.
- Check your domain’s DNS provider and know where your nameservers or A records are managed.
- Lower your DNS TTL to 300 seconds (5 minutes) at least 24 to 48 hours before migration. This makes the final switch propagate much faster.
- Pause major content changes such as new posts, orders, or comments if possible, or plan a short content freeze.
Step 1: Create a Full Backup
Never migrate without a backup. You need two parts:
- Files: the entire
wp-contentfolder (themes, plugins, uploads) pluswp-config.phpand.htaccess - Database: an export of your WordPress MySQL database
You can do this with a backup plugin (such as UpdraftPlus, Duplicator, or All-in-One WP Migration), through your hosting control panel (cPanel backup tools), or manually via FTP/SFTP and phpMyAdmin.
Store the backup somewhere safe outside your server, like local storage or cloud storage.
Step 2: Set Up the New Hosting Environment
On your new host:
- Create a new hosting account or server environment.
- Match the PHP version to your current site, or the highest version your plugins and theme support.
- Create a new empty database and database user, and save the credentials.
- Install an SSL certificate (many hosts offer free Let’s Encrypt SSL).
Don’t change your domain’s DNS yet. The old site stays live while you work.
Step 3: Copy Your Files and Database to the New Server
You have three common methods:
Option A: Migration plugin (easiest). Plugins like Duplicator or All-in-One WP Migration package your whole site into an archive. You upload it to the new server and run the installer. This is the best option for beginners.
Option B: Manual migration. Upload your files via SFTP, import the database through phpMyAdmin, then update wp-config.php with the new database name, user, and password. This gives you the most control and works well for larger sites.
Option C: Host-assisted migration. Many hosting providers will migrate your site for you. If you choose this route, ask about their process and whether they test the site before DNS is switched.
Step 4: Test the New Site Before Going Live
This is the step that makes zero downtime possible. You need to see the new site working without changing your live DNS.
Use your computer’s hosts file to preview the new server:
- Get the new server’s IP address from your host.
- Edit the hosts file on your computer:
- Windows:
C:\Windows\System32\drivers\etc\hosts - Mac/Linux:
/etc/hosts
- Windows:
- Add a line like:
123.45.67.89 yourdomain.com www.yourdomain.com - Visit your domain in the browser. You’ll now see the new server while everyone else still sees the old one.
Then check:
- Homepage and inner pages load correctly
- Images and media display properly
- Forms, search, and menus work
- Login to wp-admin works
- Checkout and payment flow work (for WooCommerce)
- No mixed-content or broken-link warnings
- Permalinks work (re-save them under Settings → Permalinks if you see 404 errors)
Remove the hosts file entry when testing is done.
Step 5: Sync Recent Changes
If your site changed between the backup and go-live (new orders, comments, posts), you need to bring the new site up to date. For active sites, do a final database re-sync right before switching DNS. For WooCommerce or membership sites, consider a short maintenance window of a few minutes during the final sync to avoid lost orders.
Step 6: Update DNS to Point to the New Host
Once testing is complete, update your DNS:
- Option 1: Change the A record to the new server’s IP address
- Option 2: Change the nameservers to your new host’s nameservers
Because you lowered the TTL earlier, most visitors will reach the new server within minutes. During propagation, some visitors see the old server and some see the new one. Since both are working copies of your site, nobody sees downtime.
Keep your old hosting active for at least 48 to 72 hours after the switch, so any visitors still on cached DNS get a working site.
Step 7: Post-Migration Checks
After DNS has propagated, confirm everything is healthy:
- SSL is active and the padlock shows on all pages
- Test email delivery, especially contact forms and order emails (mail settings often differ between hosts)
- Set up and test backups on the new host
- Check Google Search Console for crawl errors or sudden drops in indexed pages
- Verify redirects and your
.htaccessrules - Run a speed test (Google PageSpeed Insights or GTmetrix) to confirm performance
- Re-check caching and CDN settings and clear all caches
- Update your sitemap if the structure changed, and resubmit it if needed
Once you’re fully confident, cancel the old hosting and set your DNS TTL back to a normal value (e.g., 3600 seconds).
Common Migration Mistakes to Avoid
- Changing DNS too early before the new site is tested
- Skipping the backup “because it should be fine”
- Forgetting about email. If your email runs on the old host, moving it breaks your mailboxes unless you migrate them too
- Ignoring PHP version differences, which can cause plugin errors
- Leaving URLs unchanged if the domain is also changing (use a search-replace tool for the database)
- Cancelling the old host immediately
Will Migrating Hurt My SEO?
A properly done migration shouldn’t hurt your rankings. Keep the same URLs, the same content, and the same domain, and avoid long outages. Google is fine with hosting changes. A faster, more reliable server can even improve your Core Web Vitals and search performance over time.
Frequently Asked Questions
A small site can be moved in 30 to 60 minutes. Larger or e-commerce sites may take a few hours, plus DNS propagation time (usually minutes to 24 hours).
Yes. You can copy files via SFTP, export and import the database manually, and update wp-config.php. It takes more technical skill but gives you full control.
Not if you take a full backup first and verify the new site before switching DNS. For active stores, do a final data sync during a brief maintenance window.
No. You keep your domain; you only update its DNS records or nameservers to point to the new server.
If your email is hosted with your old provider, plan its migration separately, or switch to a dedicated email service so it isn’t affected by hosting changes.
Final Thoughts
Migrating a WordPress site without downtime comes down to preparation and order of operations: back up, build the new site, test it privately, then switch DNS while the old site stays live as a safety net.
If you’d rather skip the technical work, Host Web IT Solutions can handle your WordPress migration for you → Our team will move your site, test it, and make sure it goes live without interruption.